Why Polymer Clay Techniques Make It the Ultimate DIY Hobby
My journey with polymer clay began as a weekend experiment but quickly turned into a passion. With each piece, I discovered new techniques, refined my skills, and even turned my hobby into a small business. Polymer clay isn’t just a craft—it’s a gateway to self-expression, innovation, and entrepreneurship.
Why Polymer Clay is Perfect for Beginners and Professionals
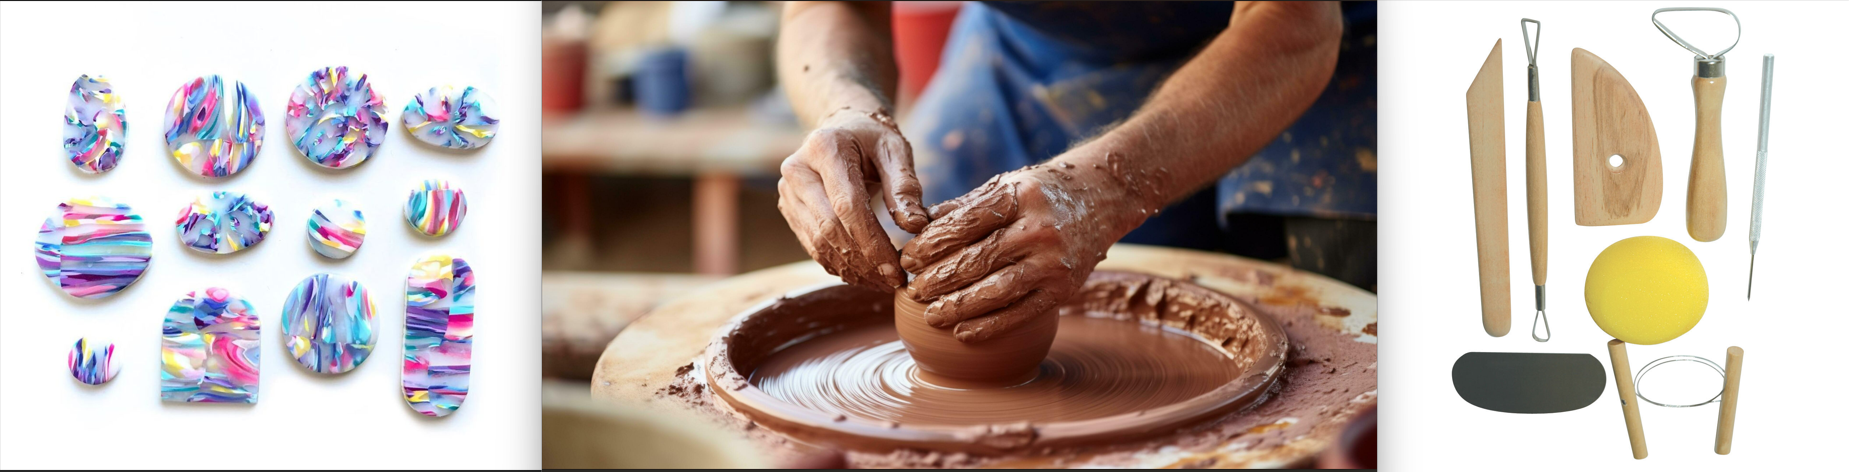
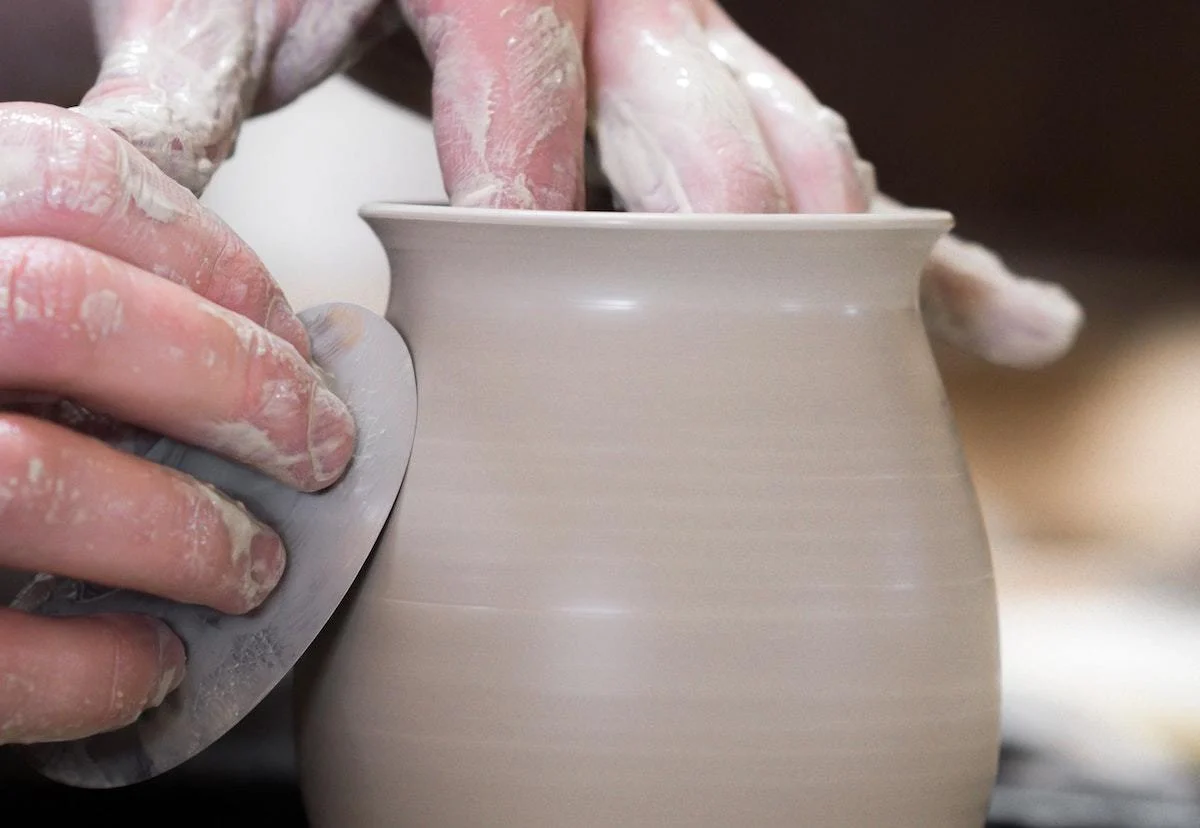
One of the best things about polymer clay is its accessibility—you don’t need expensive tools or years of experience to start. Unlike ceramics, polymer clay doesn’t require a kiln, and unlike metalwork, you don’t need specialized equipment. With just a few basic tools and an oven, anyone can begin creating stunning designs. The flexibility of polymer clay allows for endless possibilities, from tiny charms to large sculptures.
Whether you enjoy intricate detailing, color blending, or simple shapes, this medium offers something for everyone. Plus, polymer clay doesn’t dry out like air-dry clay, meaning you can take your time experimenting without worrying about your materials hardening before you're ready. This makes it ideal for artists who love refining their techniques at their own pace.
Tools and Tips for Beginners: Master Polymer Clay Techniques Like a Pro
Starting with polymer clay techniques can feel overwhelming, but it doesn’t have to be! With the right tools and guidance, you’ll be creating beautiful pieces in no time. From conditioning your clay to selecting must-have tools like rolling pins and sculpting blades, we’ll help you lay a solid foundation for your crafting journey. Whether you're experimenting for fun or diving into a new hobby, these tips will get you on the right track. Here are some essential tips to get you started:
- Conditioning Your Clay – One of the most important polymer clay techniques is conditioning. Knead the clay thoroughly until it becomes soft and pliable to prevent cracking and ensure smooth textures.
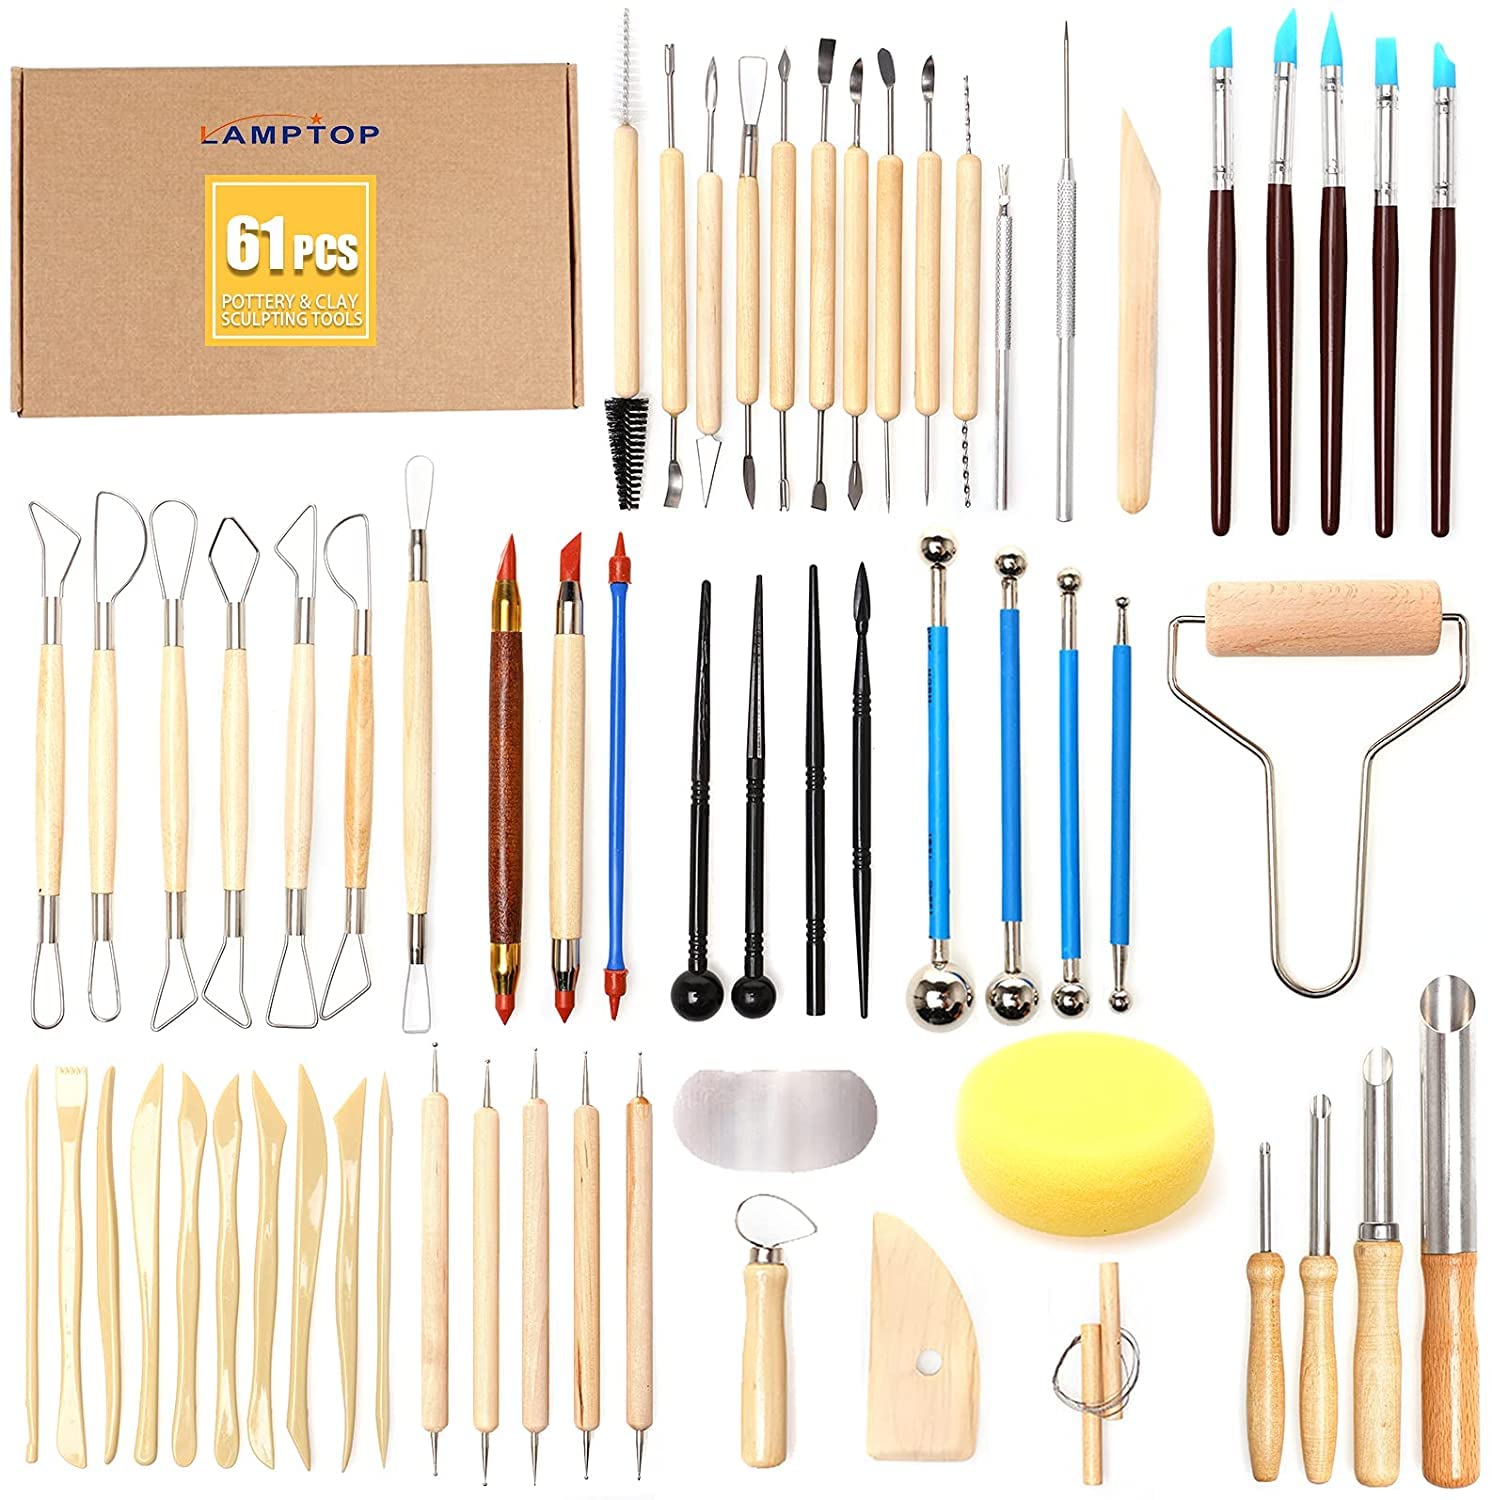
- Must-Have Tools – Sculpting blades, rolling pins, silicone molds, and dotting tools are essential for refining your polymer clay techniques.
- Baking Tips – Use an oven thermometer to maintain accurate temperatures and avoid burning. A ceramic tile provides even heat distribution, ensuring your polymer clay techniques result in flawless baked pieces.
I learned the hard way that skipping these steps can lead to brittle, uneven, or cracked creations. By mastering these polymer clay techniques, you’ll avoid common mistakes and craft like a pro in no time.
10 Easy Polymer Clay Projects to Perfect Your Techniques Today
Choosing what to create is often the hardest part of crafting. If you’re looking to practice polymer clay techniques, here are 10 beginner-friendly projects that will help you refine your skills while making beautiful pieces:
- Marbled Coasters – Blending colors with polymer clay techniques creates a stunning marble effect.
- Quirky Magnets – Use sculpting and detailing polymer clay techniques to make unique fridge magnets.
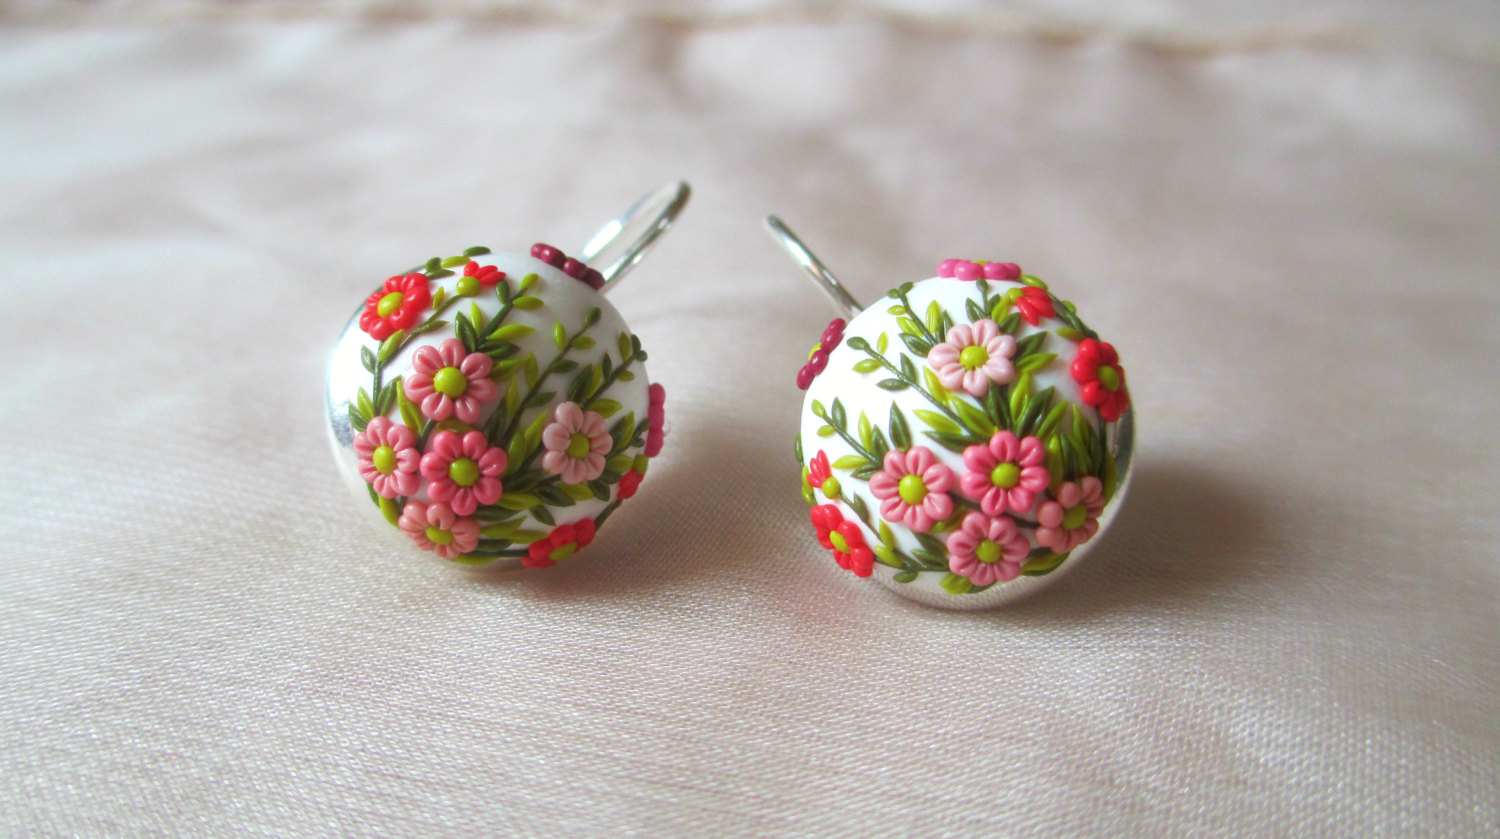
- Statement Earrings – Lightweight and colorful, these are a great way to practice intricate polymer clay techniques.
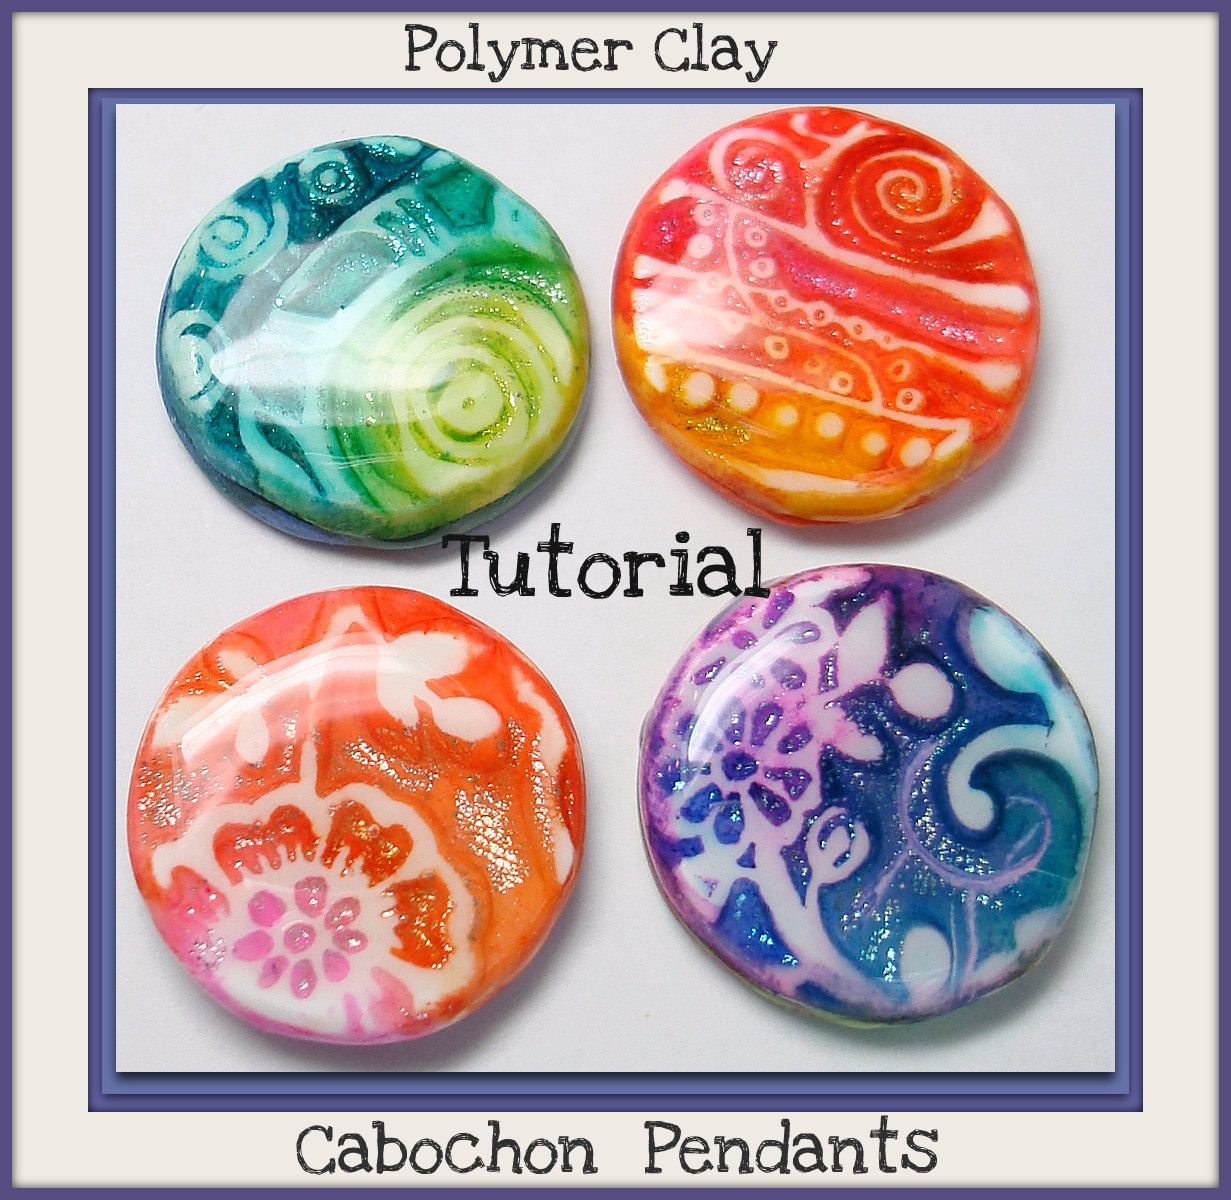
- Decorative Trinket Dishes – Perfect for jewelry storage, this project improves shaping polymer clay techniques.
- Personalized Keychains – Use letter stamps and precision cutting polymer clay techniques to add custom details.
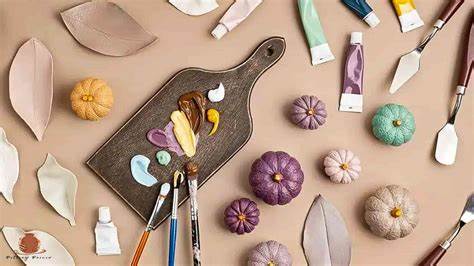
- Mini Plant Pots – Experiment with sculpting and texturing polymer clay techniques to create adorable planters.
- Bookmarks with Embossed Designs – A perfect way to practice imprinting and layering polymer clay techniques.
- Beaded Bracelets – Master rolling and piercing polymer clay techniques by creating handmade beads.
- Phone Grips – Use intricate layering polymer clay techniques to customize your phone accessories.
- Holiday Ornaments – Seasonal decorations are a fun way to explore new polymer clay techniques while making festive designs.
These projects will enhance your polymer clay techniques, allowing you to experiment with colour blending, texturing, and detailed sculpting. I’ve used these very ideas to craft gifts, sell at craft fairs, and even expand my artistic portfolio. Dive in and discover what you can make today!
Mistakes to Avoid: Mastering Polymer Clay Techniques Without the Frustration
Even experienced crafters run into challenges, but understanding common mistakes will help you refine your polymer clay techniques and achieve professional results. Here are the biggest lessons I’ve learned:
- Under-Conditioning – Without proper kneading, your clay will crack after baking. Conditioning is one of the most crucial polymer clay techniques.
- Overbaking or Underbaking – Incorrect baking times lead to fragile or burnt pieces. Follow temperature guidelines to perfect your polymer clay techniques.
- Skipping Surface Preparation – Dust and lint ruin designs. Clean tools and work surfaces before practicing polymer clay techniques.
- Using the Wrong Glue – Superglue doesn’t bond well with polymer clay. For strong adhesion, choose E6000 or liquid polymer clay, which complements professional polymer clay techniques.
By avoiding these errors, your polymer clay techniques will improve, and your creations will have a polished, professional look.
Best Techniques to Blend Colors Like a Pro
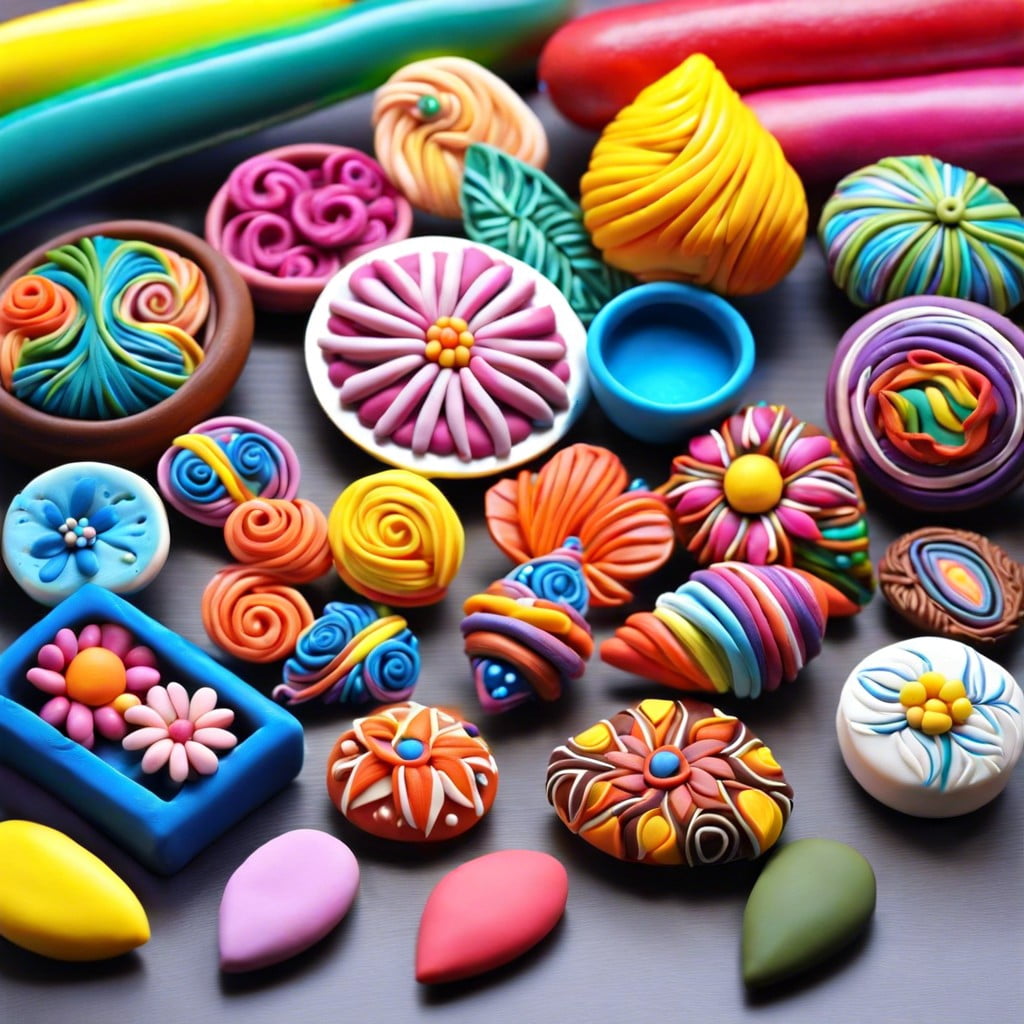
Color blending is an essential skill in polymer clay artistry. By mixing different colors, you can create custom shades, ombré effects, and realistic gradients that add depth and dimension to your projects. Here are a few techniques to master blending:
- The Skinner Blend – A popular method for achieving smooth color transitions. Roll out two colors into equal sheets, place them side by side, and fold before running them through a pasta machine or rolling them by hand. Repeat until a seamless gradient form.
- Marbling Technique – Twist and knead multiple colors together to create a swirled pattern that mimics natural stone or watercolor effects. This is perfect for jewelry, beads, and decorative pieces.
- Custom Mixing – Need a specific shade? Mix different clay colors together in small amounts until you find the perfect hue. Keep a swatch book of your blends to replicate them in future projects.
Pro Tip: Always mix more clay than you think you’ll need. Matching a custom shade later can be tricky!
Sanding and Finishing: The Secret Technique to a Professional Look
One often-overlooked step in polymer clay crafting is proper sanding and finishing. This simple step can take your projects from “handmade” to “high-end.” Here’s how to do it right:
- Wet Sanding – Using wet/dry sandpaper in fine grits (400 to 1000) helps smooth out rough edges and remove fingerprints. Sanding under water prevents dust and makes for a cleaner finish.
- Buffing and Polishing – A soft microfiber cloth or a Dremel polishing tool can give your polymer clay pieces a beautiful, natural shine.
- Adding a Glaze – For extra gloss, use a water-based polyurethane varnish. Avoid nail polish, as it can degrade the clay over time.
By perfecting your finishing techniques, you’ll ensure that your polymer clay creations look smooth, professional, and high quality.
From Hobby to Business: Selling Creations with Expert Polymer Clay Techniques
Turning your passion into a business is an exciting journey, and refining your polymer clay techniques will set your work apart in the market. I started small, selling handmade earrings at local markets, and quickly realized that refining my techniques made all the difference. Here’s how to get started:
- Develop a Signature Style – Unique polymer clay techniques help define your artistic identity.
- Quality Photography – Showcase your polymer clay techniques with well-lit, high-resolution images.
- Choose the Right Platform – Etsy, Instagram, and personal websites are excellent places to sell pieces crafted with expert polymer clay techniques.
- Engage with Customers – Sharing behind-the-scenes content about your polymer clay techniques builds trust and interest.
- Smart Pricing Strategies – Consider material costs, time, and demand when selling items created with expert polymer clay techniques.
Thinking about turning your passion into a business? Now’s the perfect time to take the leap! Learn how to craft stunning polymer clay projects with our beginner-friendly techniques, easy DIY ideas, and expert advice. Turn your hobby into a business today!
Ready to Start Crafting? Perfect Your Polymer Clay Techniques Today!
Polymer clay is one of the most versatile and rewarding crafting materials. By practicing essential polymer clay techniques, you’ll gain the confidence to create beautiful, high-quality pieces—whether for fun or as a business venture.
Are you ready to refine your polymer clay techniques and start crafting today? Gather your supplies, experiment with new methods, and let your creativity shine!
How Polymer Clay is Making Headlines in the Crafting World
Polymer clay continues to captivate the crafting world with its versatility, affordability, and accessibility. In a recent article titled Crafting Wonders with Polymer Clay Artistry by Anujj Trehaan, published on January 27, 2025, the author explores the rising popularity of this colorful medium and why it's becoming a favorite among DIY enthusiasts and artists alike.
The article begins by highlighting the appeal of polymer clay for beginners. Its ability to be sculpted, molded, and baked into solid forms makes it an ideal starting point for anyone curious about crafting. Trehaan emphasizes that "polymer clay artistry is a fun and accessible medium that lets you sculpt, mold, and bake your imagination to life." This simple yet powerful statement reflects why the medium continues to thrive in creative circles—it offers limitless creative potential.
One of the most valuable aspects of the article is its breakdown of foundational techniques. New artists are encouraged to focus on essentials like conditioning the clay to improve workability, blending colors to avoid muddiness, and learning how to create smooth color transitions using techniques like the Skinner blend. As Trehaan notes, “There are several fundamental techniques in polymer clay artistry that beginners should focus on mastering,” which serves as a reminder that skill-building is key to unlocking the medium’s full potential.
The article also provides practical tips on baking and preservation. Proper curing is essential to avoid brittle or discolored results, and Trehaan shares helpful advice for long-lasting creations. “Under-baked pieces can be brittle while over-baking may cause discoloration or burning,” he writes. Additionally, using sealants and storing finished pieces correctly can help ensure that your polymer clay artwork stays beautiful over time.
For the crafting community, this article reinforces the growing recognition of polymer clay as a serious art form. Whether you're creating jewelry, miniatures, or home decor, the medium allows you to experiment freely with color, texture, and form. It's a powerful reminder that with a few tools and a bit of imagination, anyone can start creating meaningful, lasting art with polymer clay.
Read the full article here
My Favorite Picnic Spot
One of my favorite picnic spots is Sir Wilfrid Laurier Park, located at 13221 Buena Vista Rd NW, Edmonton, AB T5J 2R7. Nestled along the north bank of the North Saskatchewan River, this 33-hectare park offers a serene setting with numerous picnic sites, two natural playgrounds for all ages, and a boat launch for whoever wants to go in the water. The park's expansive green spaces and proximity to the Edmonton Valley Zoo make it an ideal spot for family gatherings and leisurely afternoons.
Directions: From downtown Edmonton, head west on 102 Ave NW, then turn left onto 142 St NW. Continue as it becomes Buena Vista Rd NW, leading directly to the park's entrance.
Find it on Google Maps.